
A Plateful of Knowledge

Learning a new craft can be an arduous process with many false starts before success. Looking at this recent fused glass platter I made

one would not know the journey I took to get to this point. Multiple learning ‘opportunities’ went into the creation of this.
The bane of my early fusing existence is now frozen in the center of this platter. Yes, for months, a flat rectangular blue piece of glass with white steps mocked me. This was the very first attempt I made to fuse glass in my new kiln. The intent – tack fuse white rectangles so they held their shape above a vibrant cobalt blue base. I actually made two pieces and they looked like this after firing:

Immediate observations – I went to too high a temperature and everything fused into a solid flat piece – no tack fusing. (Ok, I was learning my kiln’s temperature profile). Also – you’ll note the edges seem very rough. This is because I had to basically break the glass off the kiln shelf. I believed the beginner instruction book that said kiln washing the shelf would be sufficient to prevent glass from sticking. Ha! I’ve used shelf paper between my glass and the kiln shelves ever since. A third observation – the finished glass is very thin. I should have used 2 layers of 3 mm glass and then added my smaller rectangles. Glass naturally wants to re-solidify at a certain thickness (~4 mm) and I didn’t provide enough to make the laws of physics happy.
After many months, I decided to revisit my sins and try to make something out of my first fuse attempt. To make the platter, I used a clear base with an opaque white sheet on top (my 2 layers of 3 mm glass). I then centered my original blue/white rectangle in the center (3rd layer). To make a border and add visual interest, I placed 4 strips of cobalt blue near the edges. My pride with the placement of these blue strips is that they did not cause the outer platter edges to bulge out in any way – another early problem I had when layering smaller components.
Now, every time I look at this platter, I see it as a symbol of what I have learned in these first months glass fusing. I’m really glad I choose to tackle this demon.
Feeling the Heat – Temperature Dependence of Draping Vases

One of my first exposures to fusing glass involved a very simple class where we selected 1 sheet of glass, cleaned it, figured out the center, and placed it over a form in the kiln. The instructor worked some kiln magic and after several hours invited us to peer into the kiln to see how the flat sheet of glass had begun to fall around the form. (This is technically draping and not slumping glass).
How cool! Was it really that easy to make beautiful glass vases? I didn’t know enough to realize what factors played a role in creating the magical whimsical handkerchief forms. Nevertheless, like a junkie’s first hit, I was hooked.
Yes, the instructor muttered under her breath about the danger of over-firing the glass and actually getting the mold stuck within the glass and having to destroy the glass and even the mold but who was listening? This post will not auger into disaster scenarios, though. (There is plenty of time for examples later…).
With time, I have begun to see the versatility possible with creating vases. Obviously one can fuse many pieces together to create a 2D sheet that is far more complex and exciting than a single color sheet of glass like I was first exposed to. Another Boulder artist, Bobbi Vischi (www.bobbivischi.com), takes this to an awesome level.
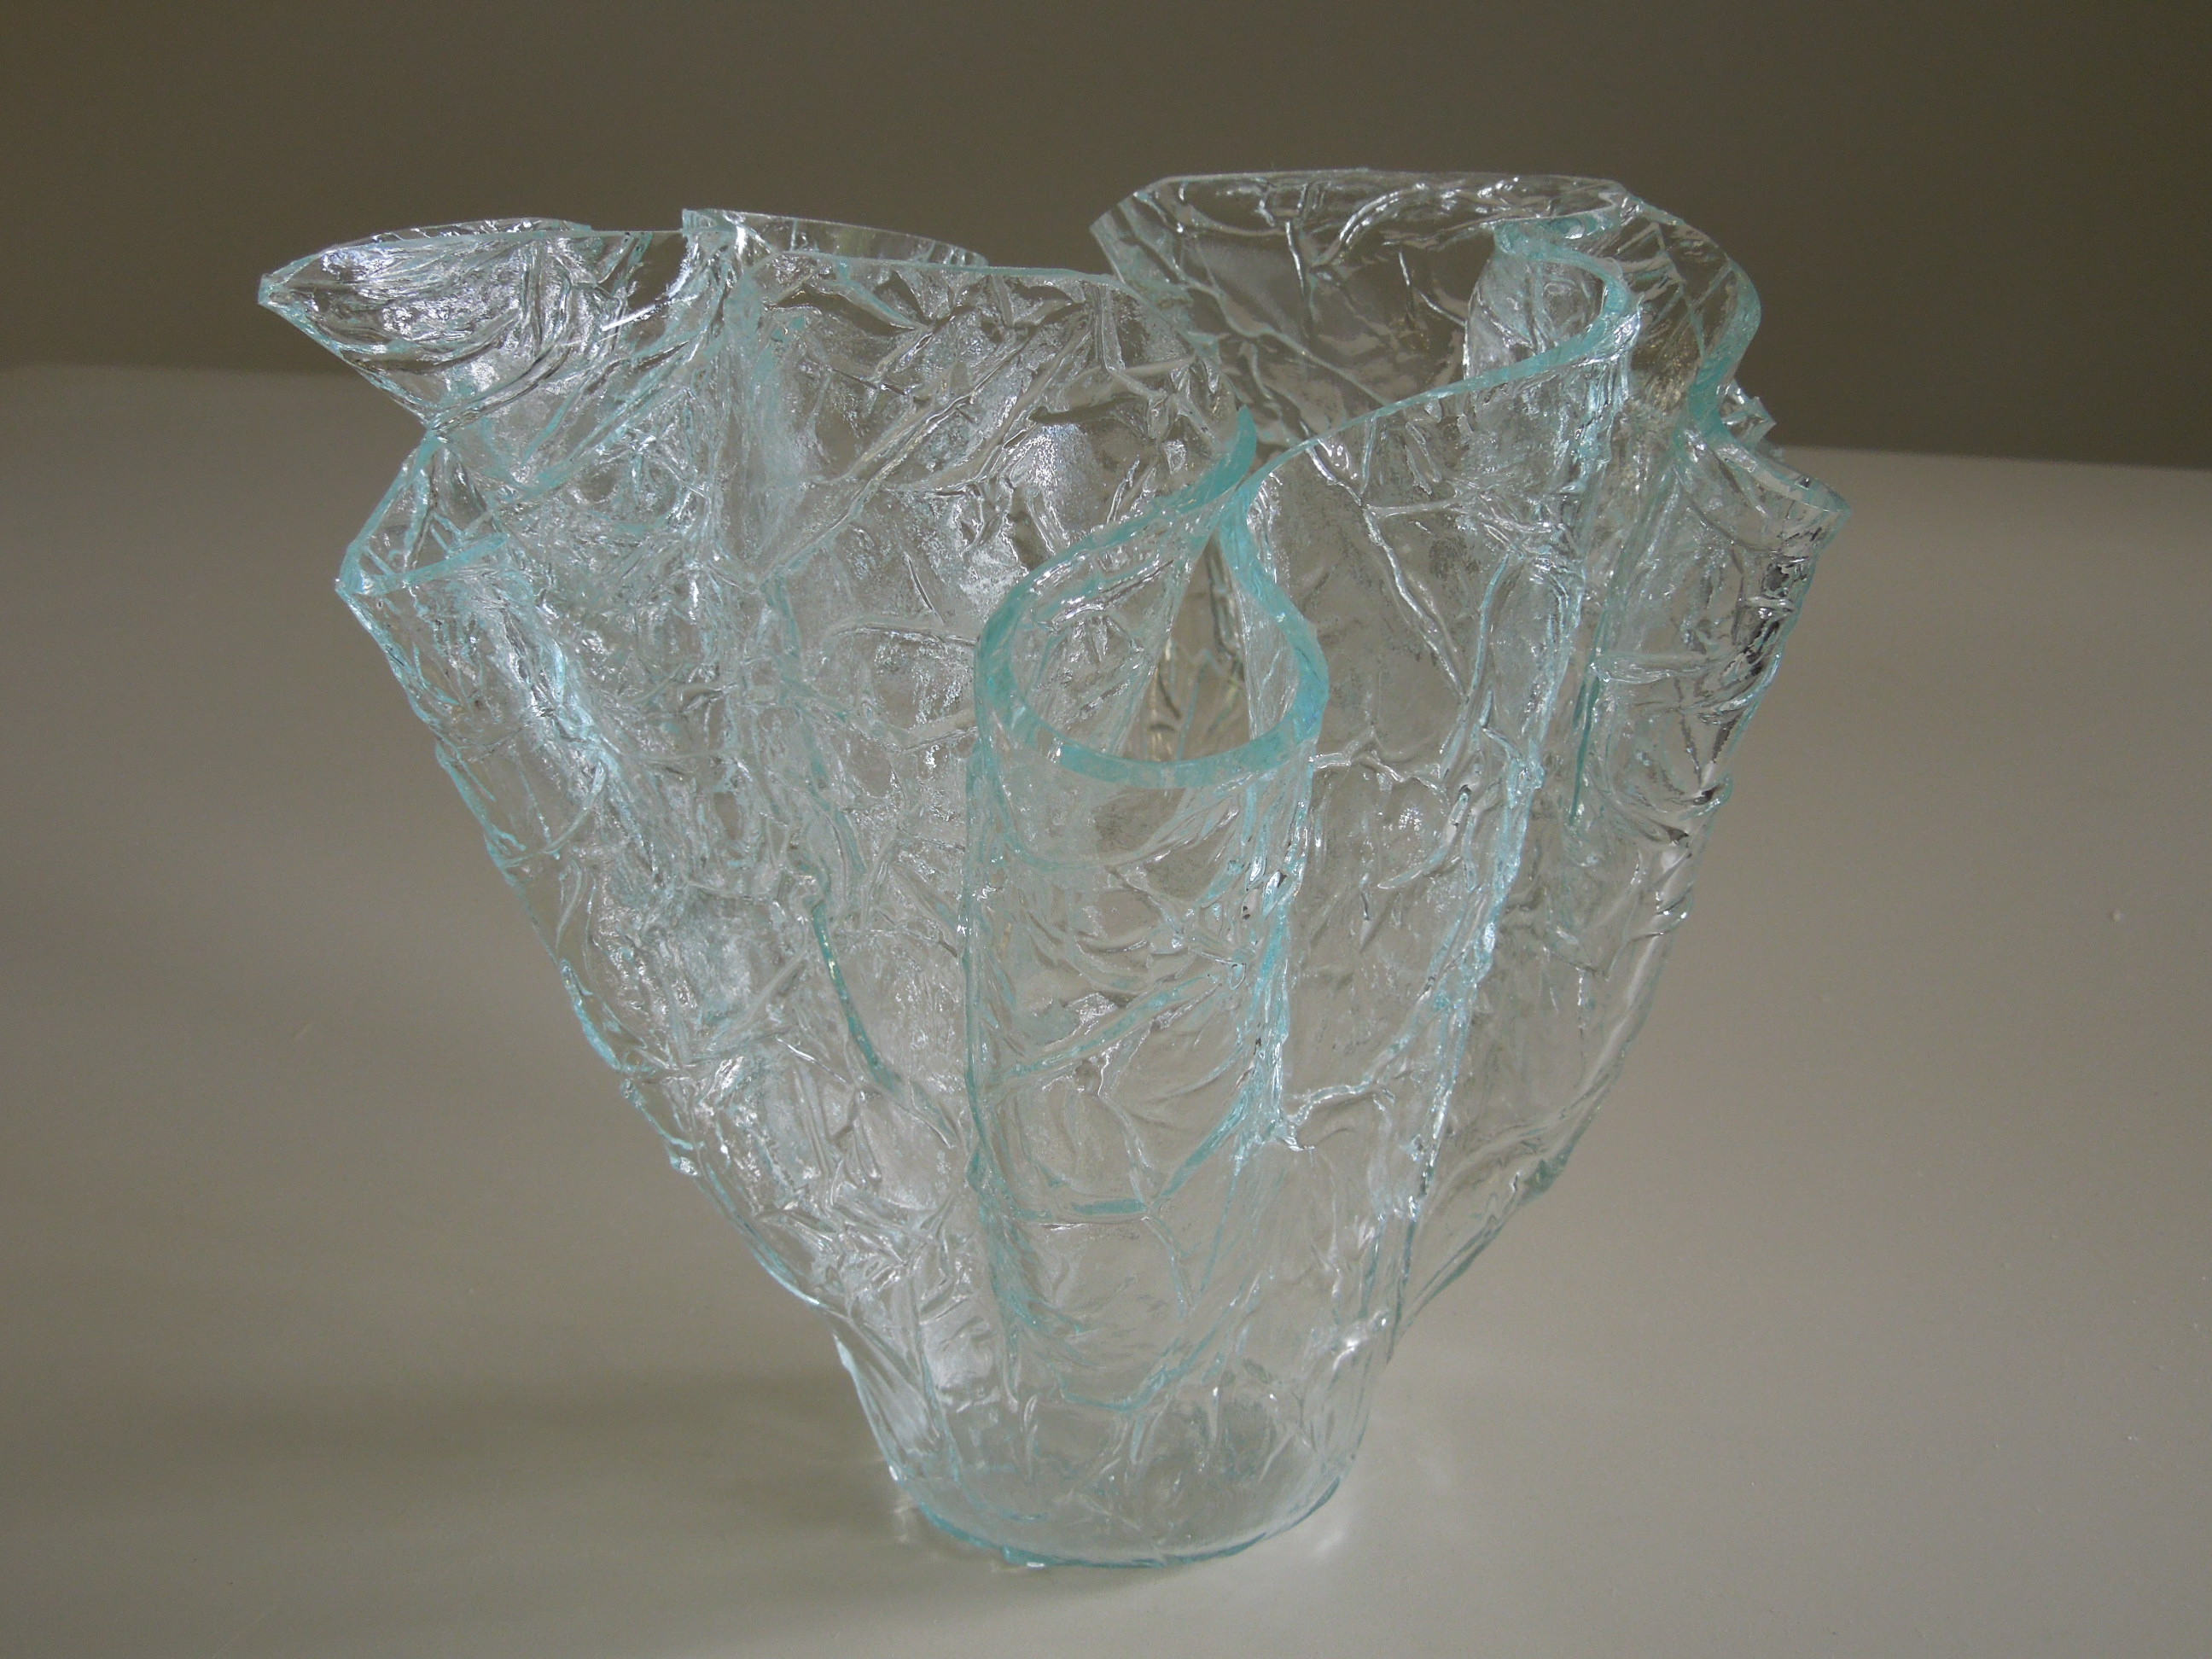
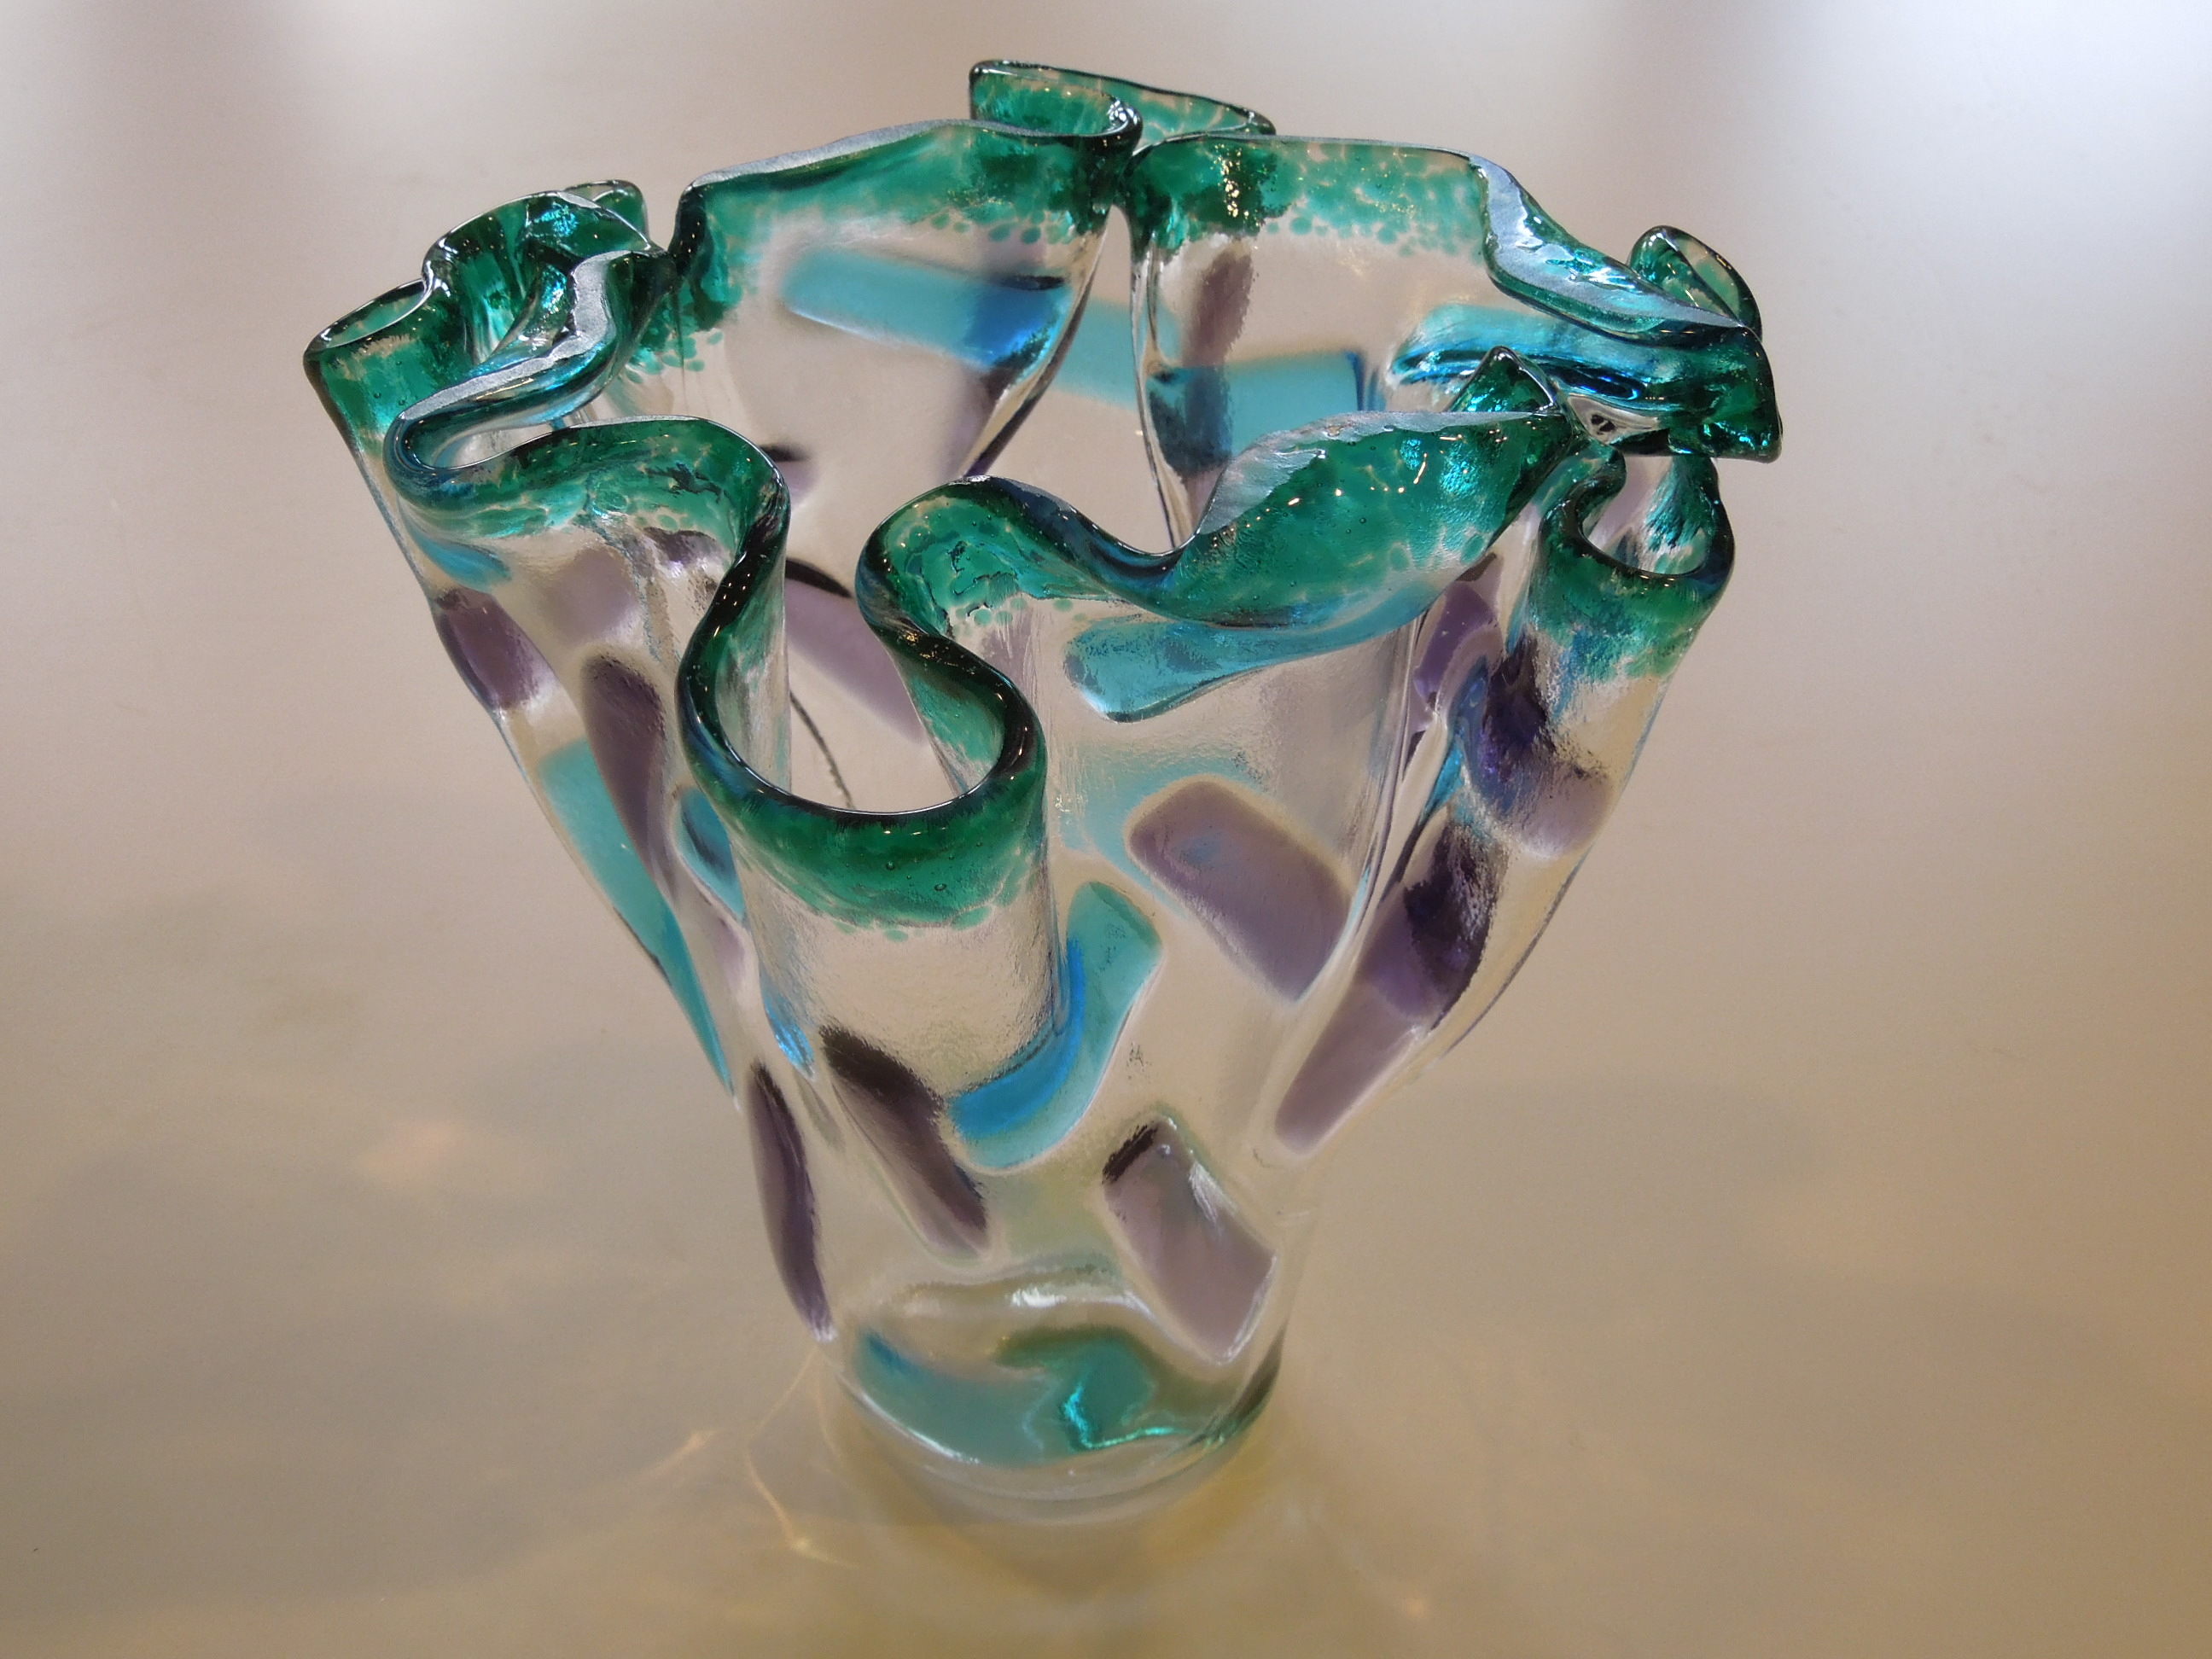
The key to the final shape all comes down to temperature. I have conducted a experiment creating vases that have been taken to different slump temperatures. Remember, glass most soften and begin to melt. The amount the glass ‘melts’ is temperature dependent. The glass will first seem to fold along one axis creating what is affectionately known as a ‘taco’ (or is it because this always seems to occur at lunch time during classes?). As the temperature is increased, the glass moves more and additional folds are created. At higher temps, the glass really begins to take on the form of mold it is draping over. Go much further and you are risking it all.
‘Don’t forget time!’ you may say but that seems almost secondary to the ultimate heat the glass is exposed to. At low temperatures, even if I hold for an extended period of time, I can’t seem to move much beyond the taco shape.
Pictures tell the story the best. In all cases, the kiln firing schedule was as follows:
Ramp 150F/hr to 300F and Hold for 15 minutes
Ramp 300F/hr to 1100F and Hold for 20 minutes
Ramp 150F/hr to SLUMP TEMP and Hold for X minutes
Cool 400F/hr to 950F and Hold for 1 hour
Cool 150F/hr to 800 and Hold for 10 minutes
Example 1: 1175F for 1 min (Hit Taco shape at 1100F) Example 2: 1200F for 1 min
Example 3: 1225F for 1 min (about as far as want to go)
Now back to experimenting with my vases….


